Introduction
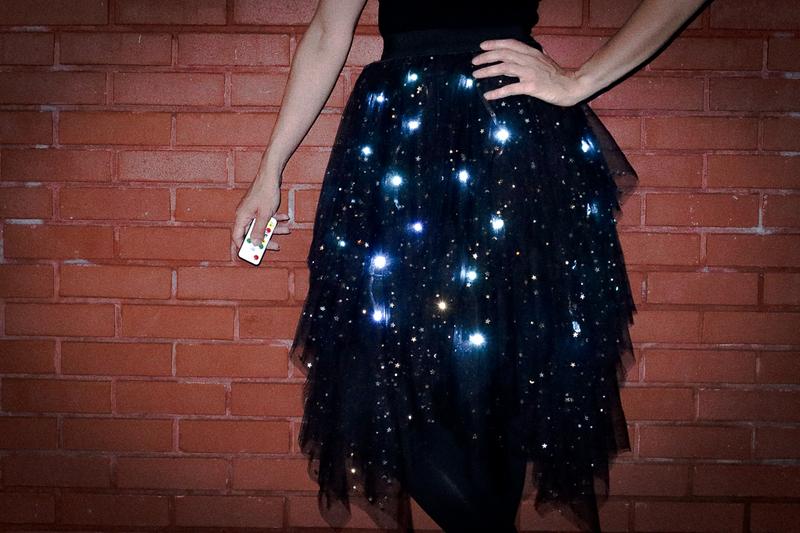
We’re excited to launch our new LED Skirt Strand Kit! The skirt strand kit contains LEDs that branch into strands perfect for skirts or other wearable tech projects. This tutorial is brought to you by our friend Natasha from TechnoChic.
You Will Need
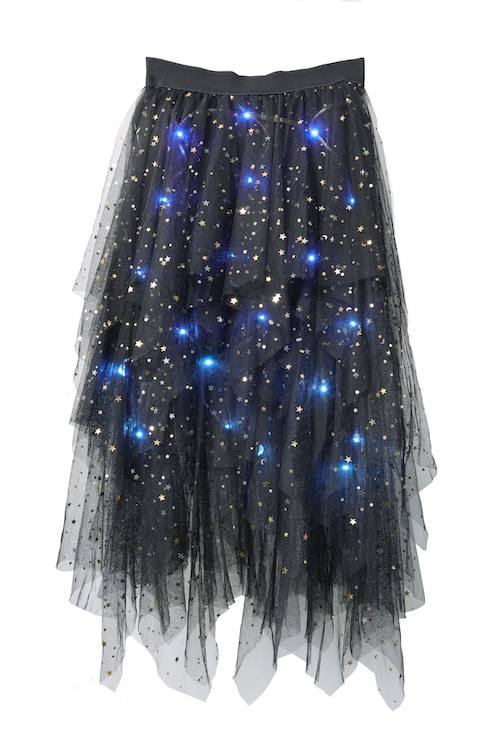
A Skirt

You can make your own skirt, or upcycle or purchase a skirt.
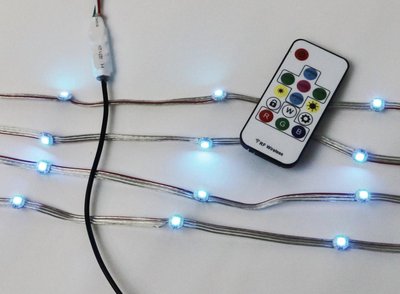
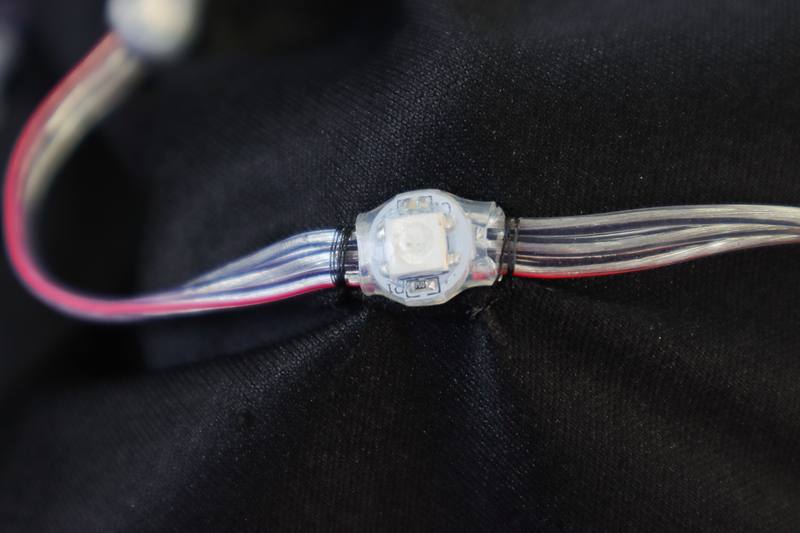
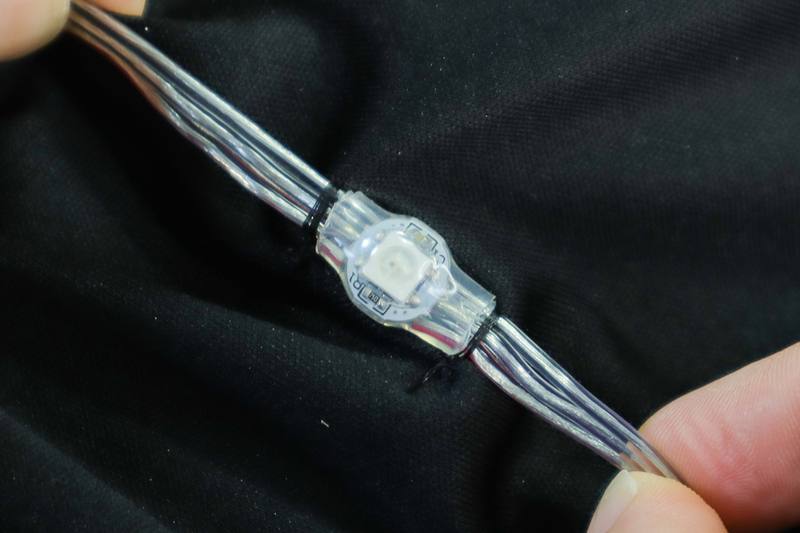
LED Skirt Strand Kit and USB Battery Pack
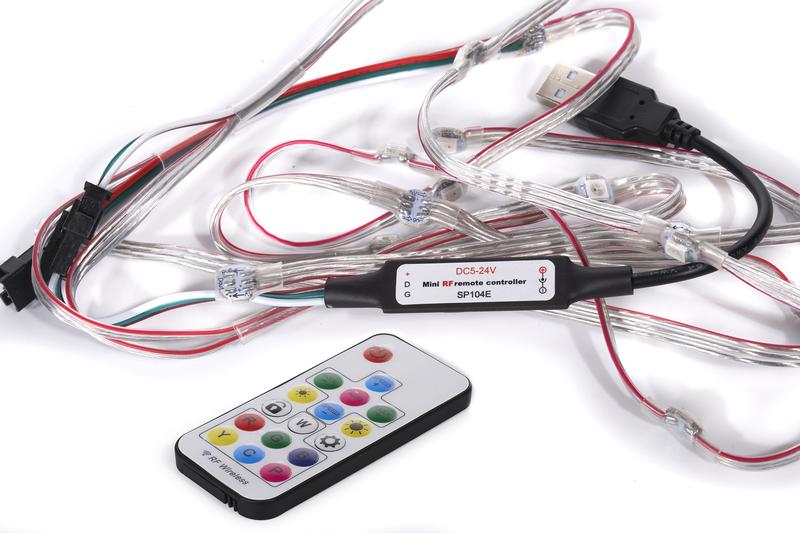
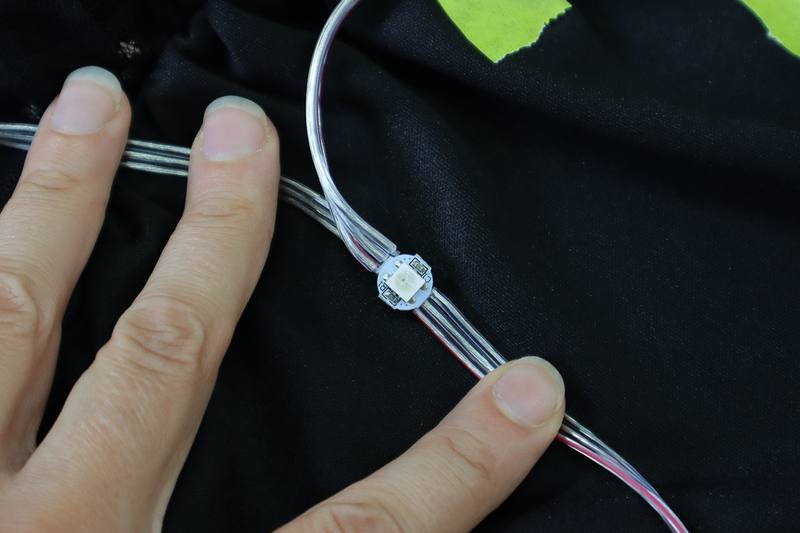
This tutorial uses our LED Skirt Strand Kit. One kit will provide LEDs along the front of the skirt, for fuller LEDs or larger sizes, you can chain two kits together.
Other Materials
- Needle and Thread, the same color as the skirt
- A scrap of fabric, about 8 x 10 inches, the same color as the skirt
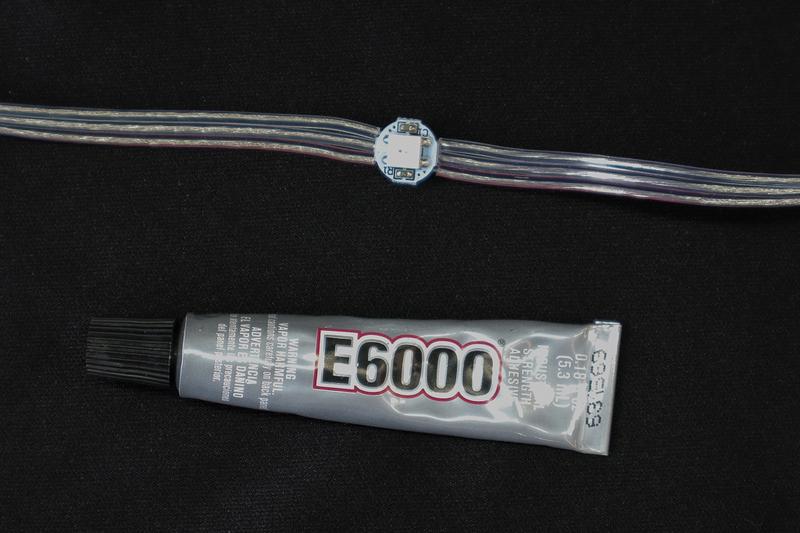
- E6000 Glue and Q-tip (optional)
Step 1: Get a Skirt

When looking for a skirt:
- Sheer fabrics with shimmer or glitter reflect the lights and add extra sparkle
- Skirts with a slip underneath provide the perfect surface to attach the LEDs
- Look for a thick, solid waistband to attach a battery pack to
Step 2: Lay Out the Circuit
Explore the skirt. Choose a location for the battery pack that will support the weight but not be visible. A place close to the waistband can be ideal, either aligned with a side seam or placed below the small of the back.
Stretch the slip fabric and familiarise yourself with how much it stretches. This will inform how much “slack” to put in the LED wires.
Turn on the LEDs and look at how much they are diffused by the skirt. Play with placement underneath the sheer fabric. Make sure to start the LED strip wire at a location where the wire can reach the battery pack.
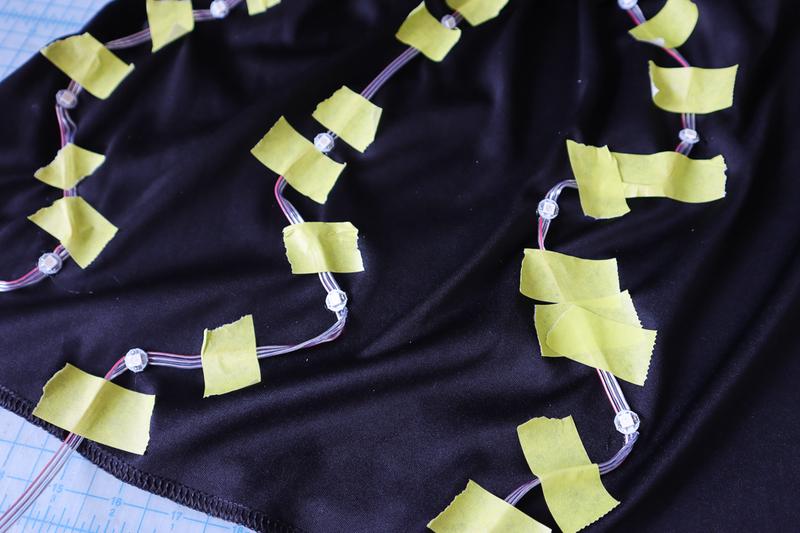
Use masking tape to hold the LEDs into position as you design the LED pattern throughout the skirt.
Step 3: Attach the LEDs
There are two methods: Gluing and Sewing.
Glue Method
With the LEDs in place, put a piece of paper or cardboard inside the skirt to prevent glue from flowing through the fabric and adhering to fabric in unwanted places.
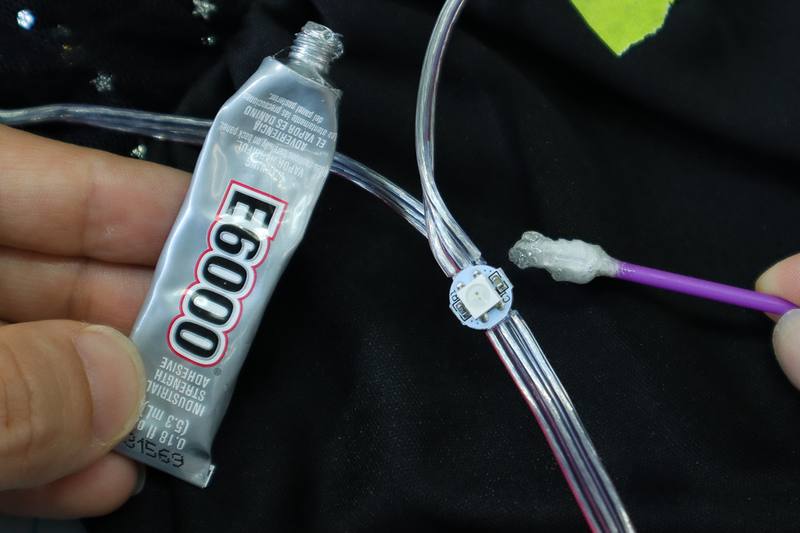
Place a dab of E6000 glue on the back of each LED with a Q-tip and let it dry according to the instructions on the package. If using an alternate glue, look for one that remains flexible so that the LED remains fastened even if the fabric is stretched a bit.
Sewing Method

Using thread that matches the color of the fabric, tack the LED to the skirt by sewing around the wire 2–3 times on each side of the LED. Sewing on both sides will ensure that the LED remains facing “out” and doesn’t get hidden by the fabric.
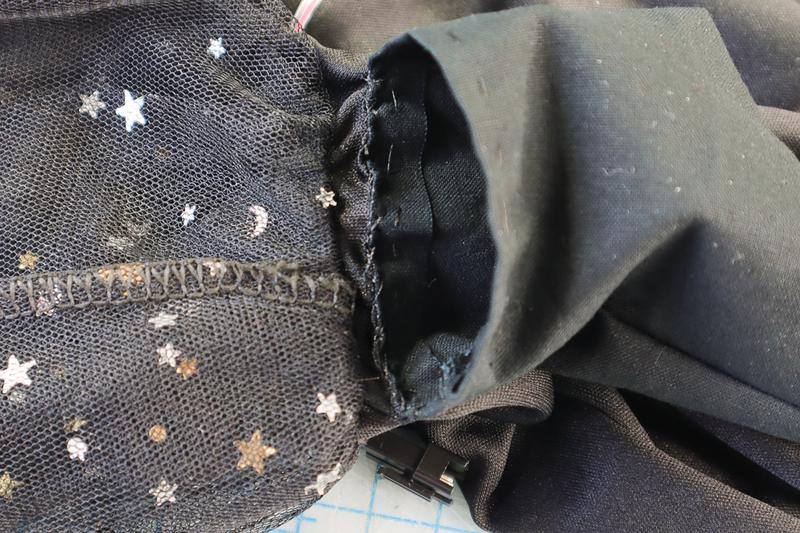
Step 4: Make the Battery Pocket
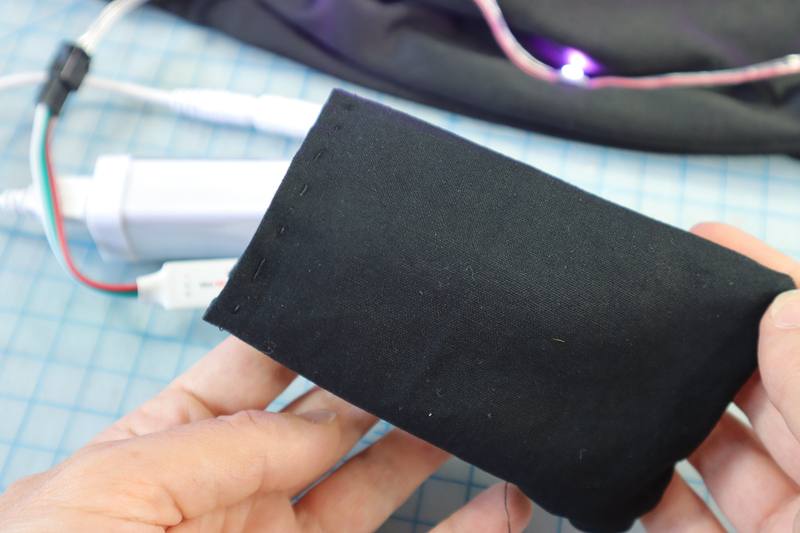
Using a scrap of fabric the same color as the skirt, create a small pouch by sewing a wide rectangle in half on two sides. Test that the battery pack fits inside.
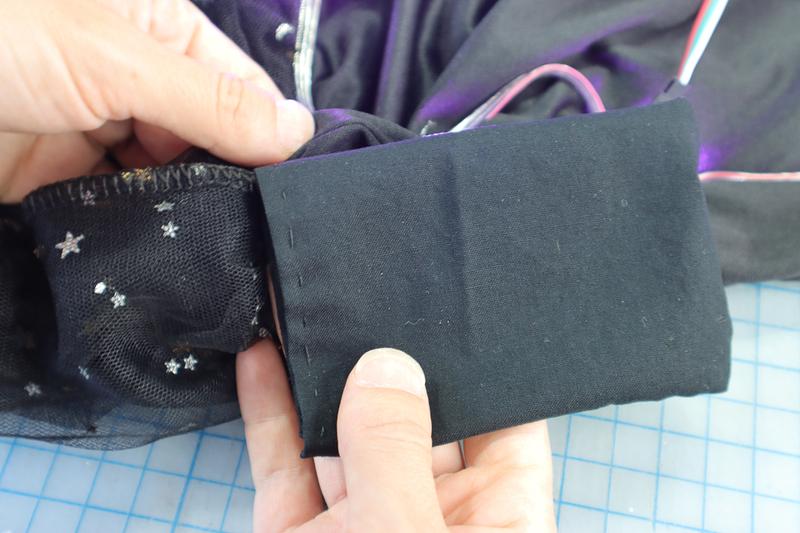
Sew the pouch on the interior of the skirt, making sure to place it where the battery pack is as inconspicuous as possible.
Step 5: Wearing and Washing
Before putting the skirt on, you may wish to disconnect the LED sections to make it easier to get the skirt over your head or hips, and ensure that you don’t stress or break the wires.
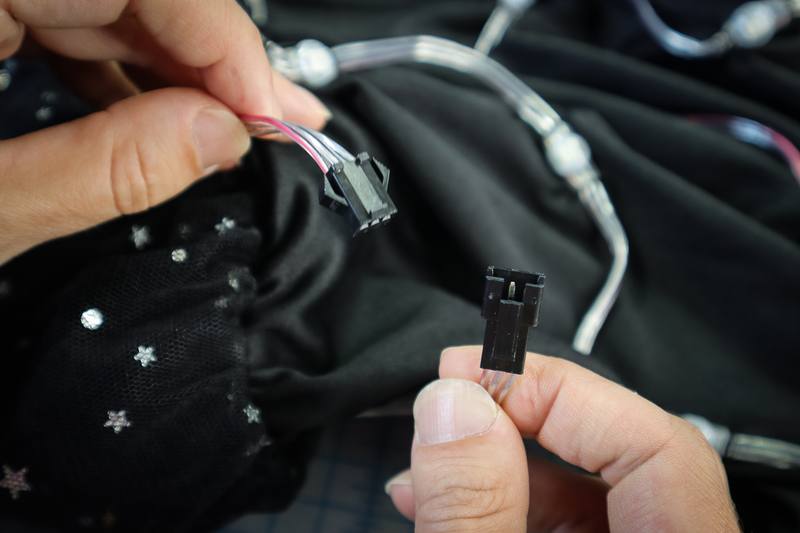
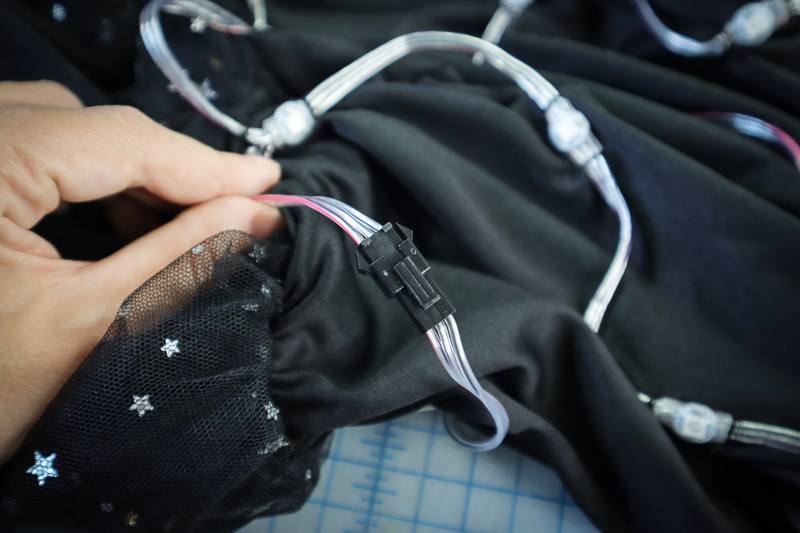
Once on, reconnect the wires, place the battery pack into the pocket, plug the USB in, and enjoy the party!