How to Add an LED Panel to Any Jacket, Bag, or Garment
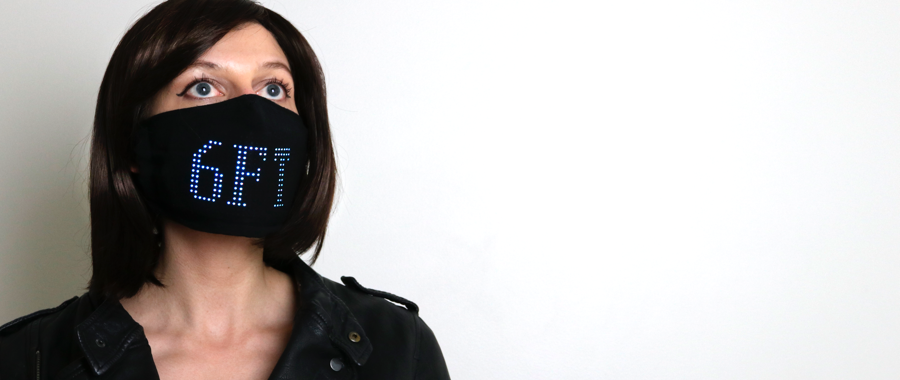
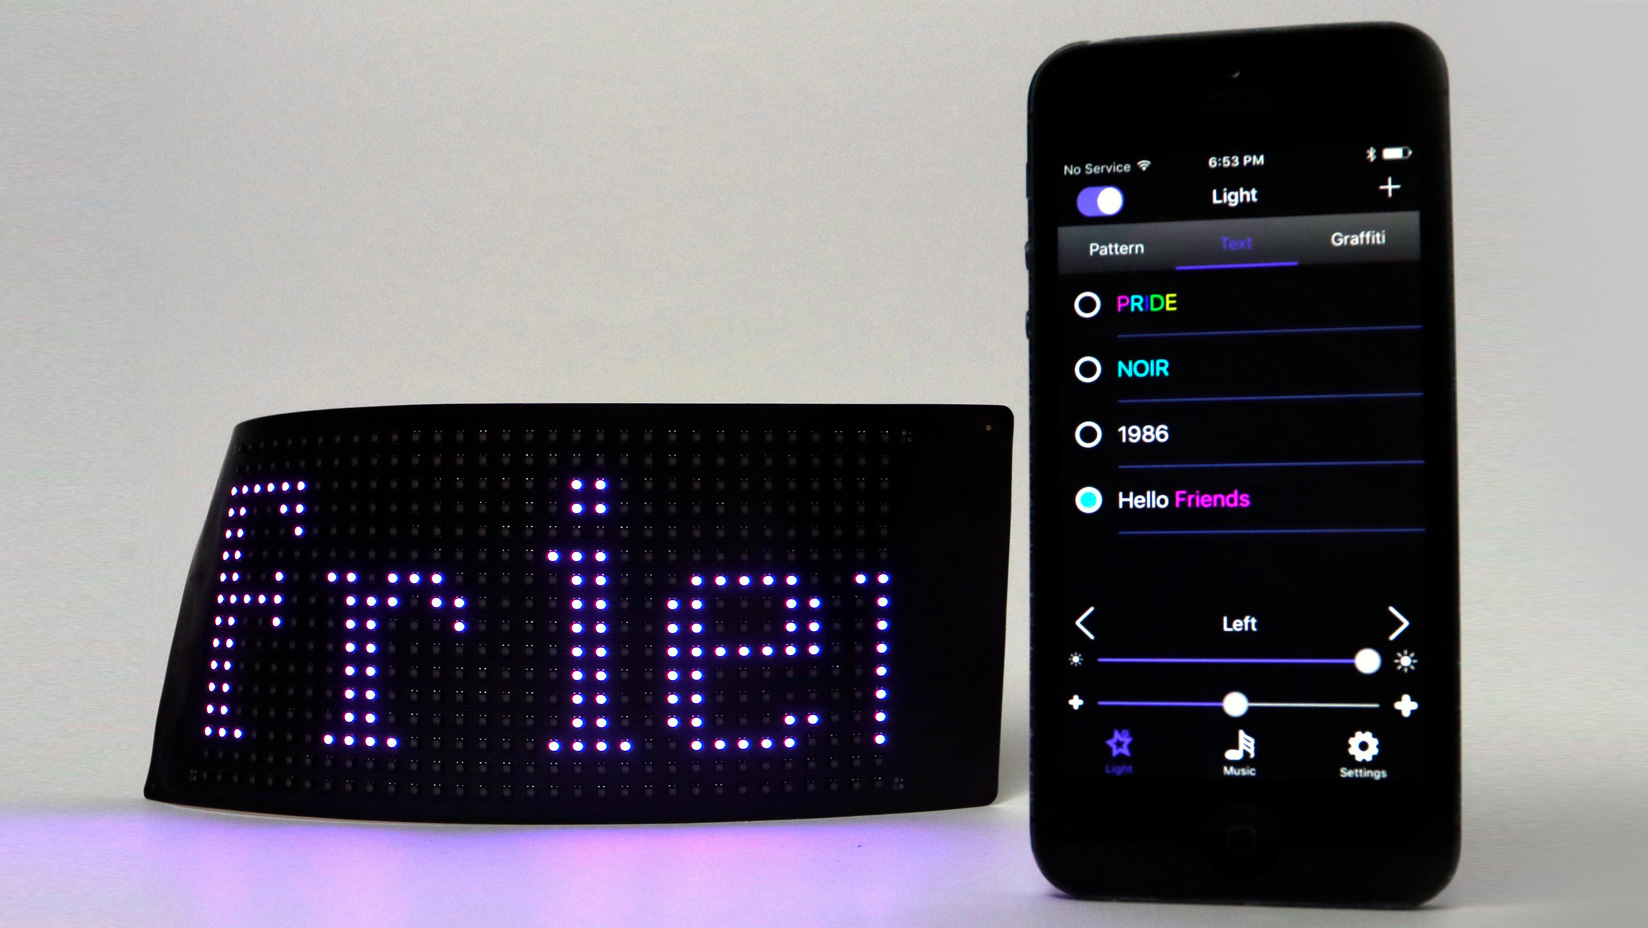
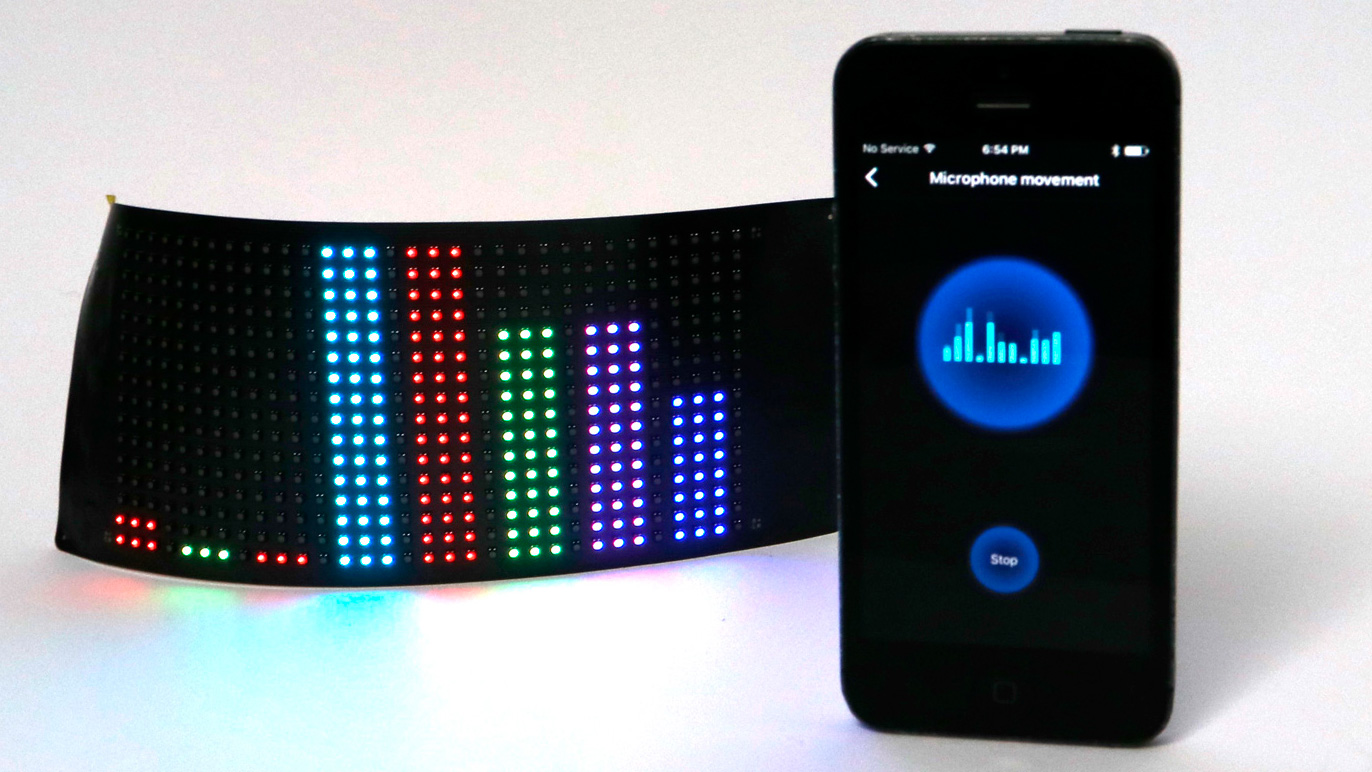
The Paper Thin LED Matrix panel is the most versatile component we sell. It connects to your phone via Bluetooth, weighs almost nothing, and can display drawings, scrolling text, GIFs, images, and real-time music visualizations.
This tutorial shows you how to integrate one into any garment, bag, or accessory you already own.
What You Need
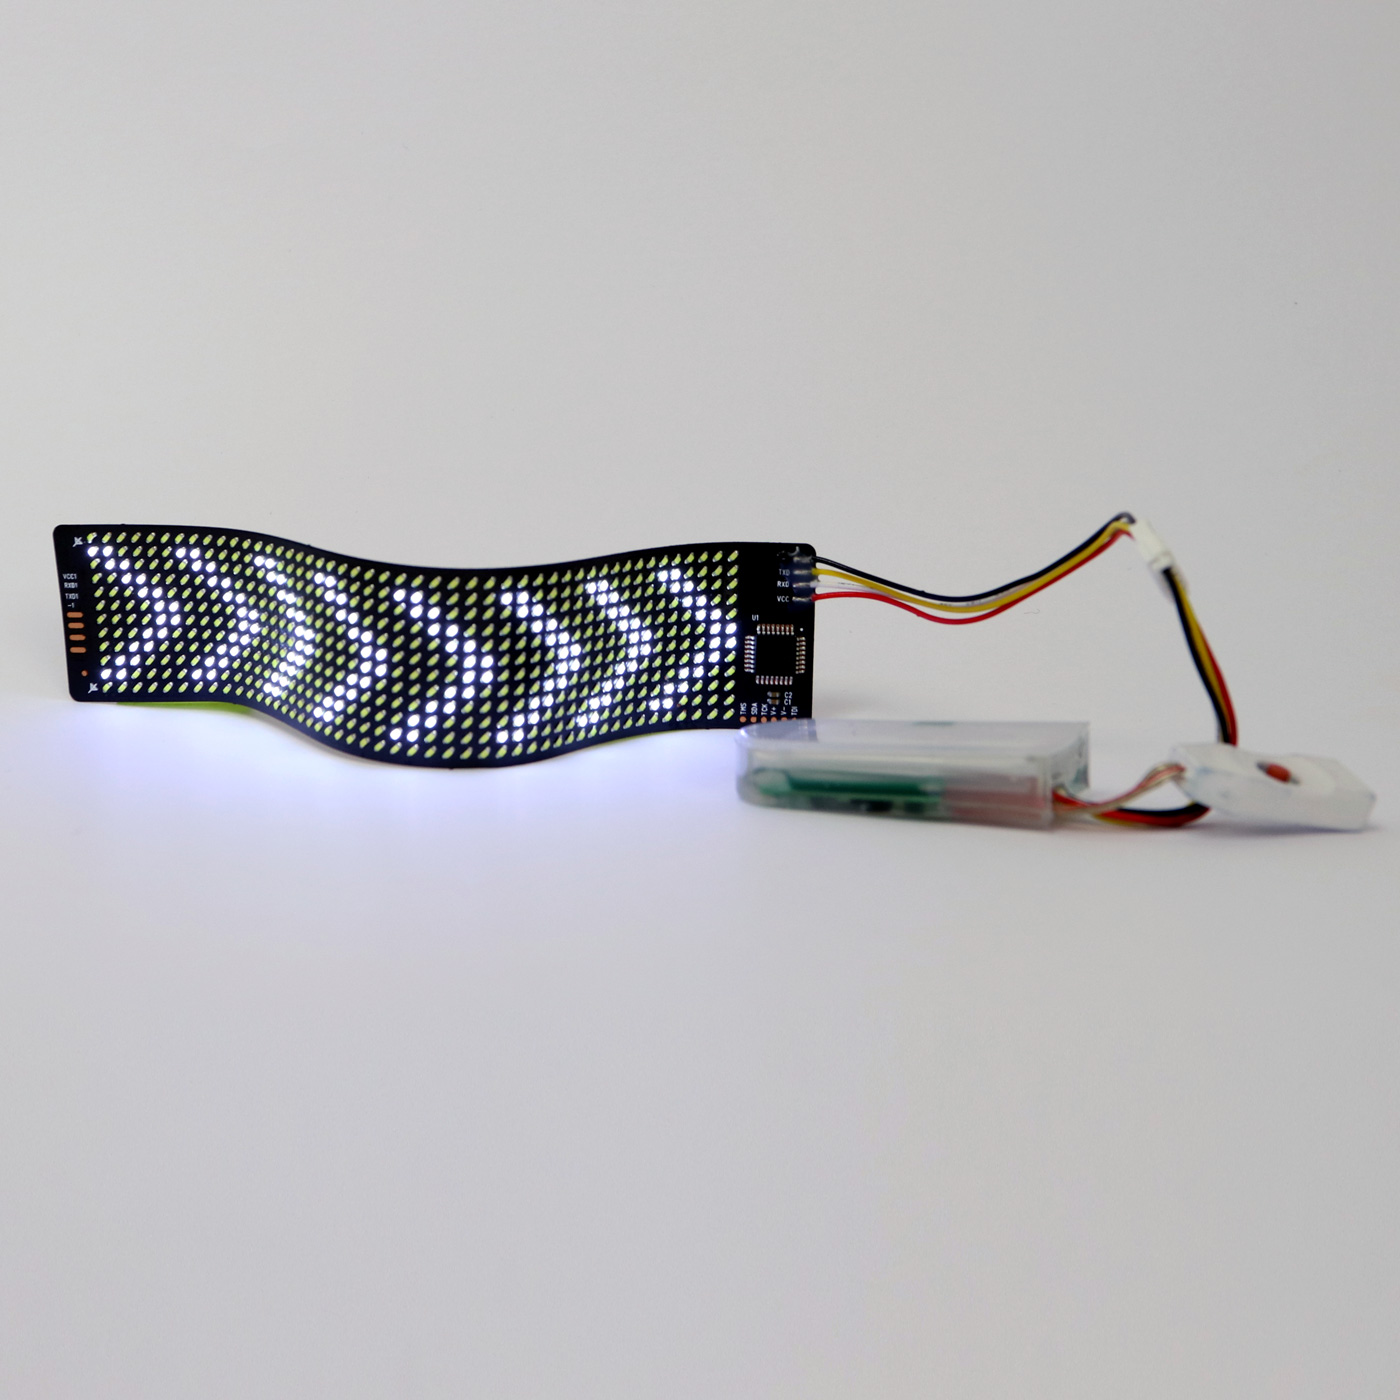
- Paper Thin LED Matrix (small, $25) or Large Square LED Matrix (large, price varies) -- each comes with a rechargeable battery and charge cable
- The garment, bag, or accessory you want to modify
- A glue gun, fabric glue, or needle and thread
- A piece of sheer black fabric (about 8 x 10 inches) for a diffusion layer (optional but recommended)
- Scissors
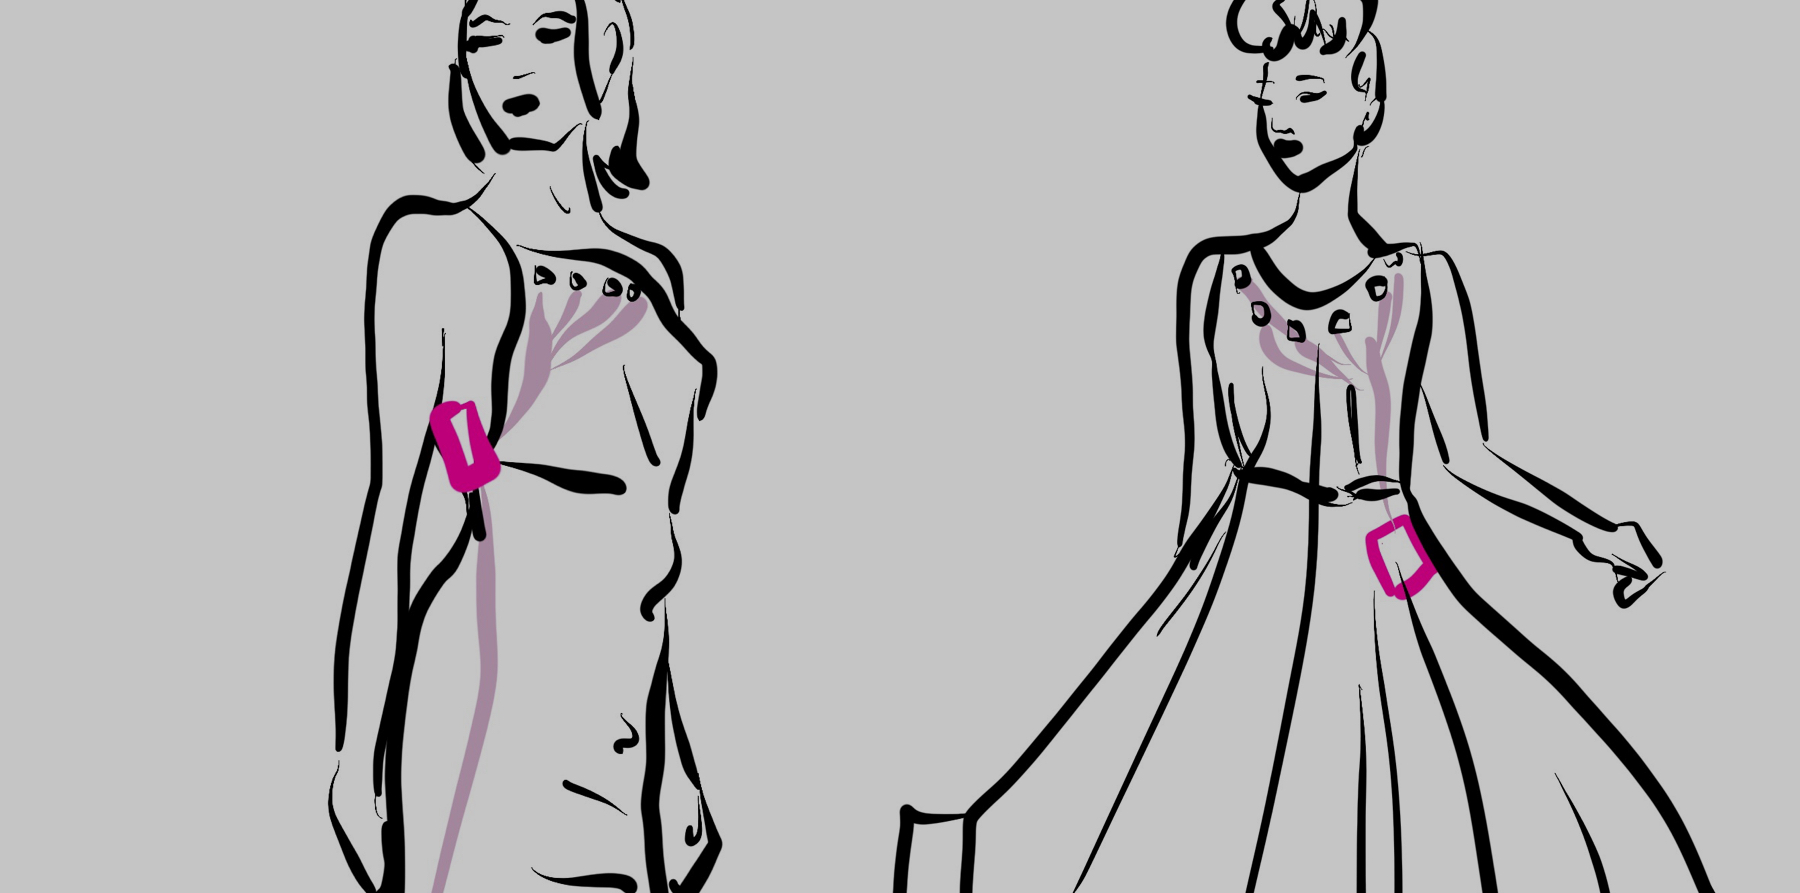
Choosing a panel size: The small panel (3.2 x 14 cm) works for belts, chokers, wristbands, hatbands, and small bag pockets. The large panel (8 x 19 cm) works for jacket chests, bag fronts, hoodie panels, and larger garments.
Step 1: Choose the Mounting Location
Pick a relatively flat area of the garment. The panel has some flexibility but works best on surfaces that don't bend sharply. Good options:
- Jacket or hoodie: Center chest, upper back, or sleeve (large panel)
- Backpack or messenger bag: Front flap or a side pocket (either size)
- Belt or waistband: Centered at the front (small panel)
- Hat or headband: Front-facing brim or band (small panel)
Lay the panel on the outside of the garment and test placement before committing. Consider where the battery will sit (it connects via a short cable and is about the size of a thumb drive).
Step 2: Prepare a Diffusion Layer (Optional)
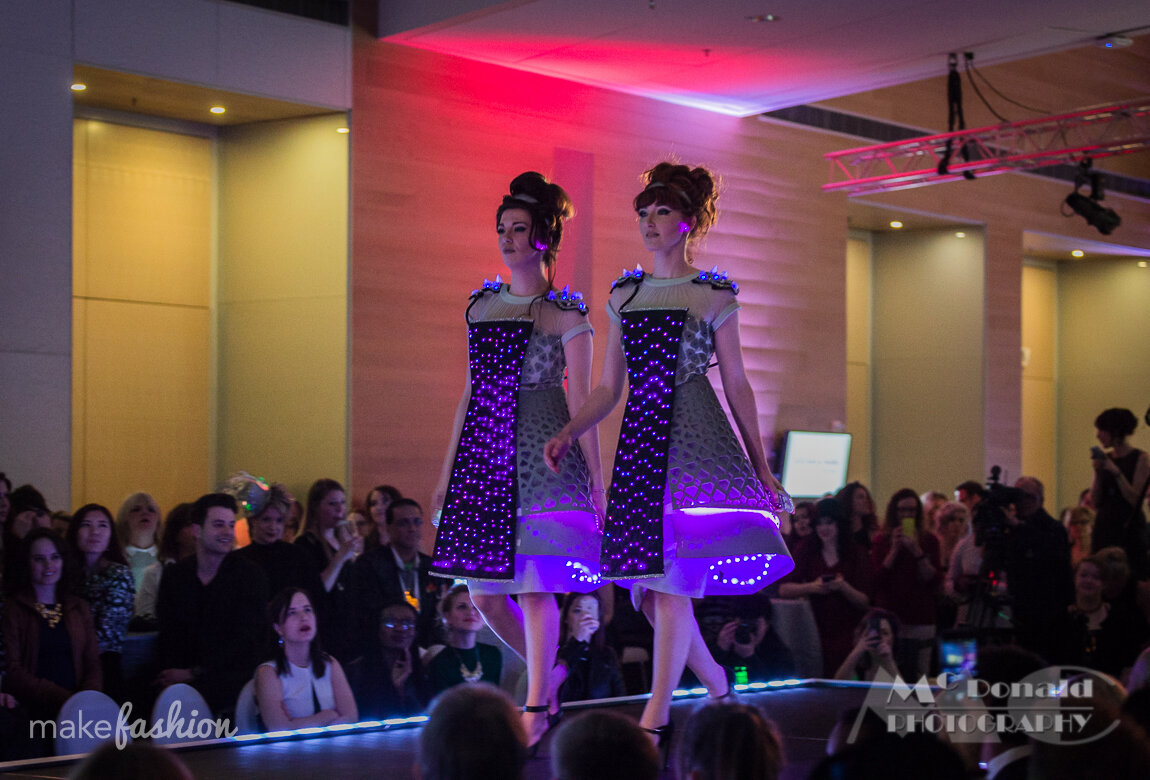
A single layer of sheer black fabric over the panel softens the LED dots into a smoother glow. This is how the Lumen Couture Matrix Hoodie and Matrix LBD get their refined look. Without it, the individual pixels are visible, which can also be a deliberate style choice.
Cut the sheer fabric slightly larger than your panel. You'll attach it over the panel in a later step.
Step 3: Create a Pocket or Mount
Pocket method (recommended for garments)
Sew or glue a fabric pocket on the inside of the garment, sized to hold the panel snugly. Leave the top open so you can slide the panel in and out for charging. This is the same approach used in the Lumen Couture finished garments and keeps the panel removable.
Direct mount (good for bags and rigid surfaces)
Use fabric glue or a few tacking stitches to hold the panel in position. Use small stitches through the panel's corner holes (most panels have them) and the fabric. Don't glue directly over the LEDs.

Step 4: Route and Hide the Battery
The battery connects to the panel via a short cable. Route the cable along a seam where possible, and tuck the battery into a pocket, waistband, or interior pouch.
Our battery placement guide covers hiding strategies in detail. The most common spots:
- Back of the waistband (for jackets and tops)
- Inside a pocket (for jackets and bags)
- Clipped to the belt or strap (for bags and crossbody styles)
Step 5: Cover with the Diffusion Layer
If using a sheer fabric layer, attach it over the panel area with a few stitches or small dots of glue around the edges. Make sure it sits flat with no bunching that would create uneven light.
Step 6: Connect and Control
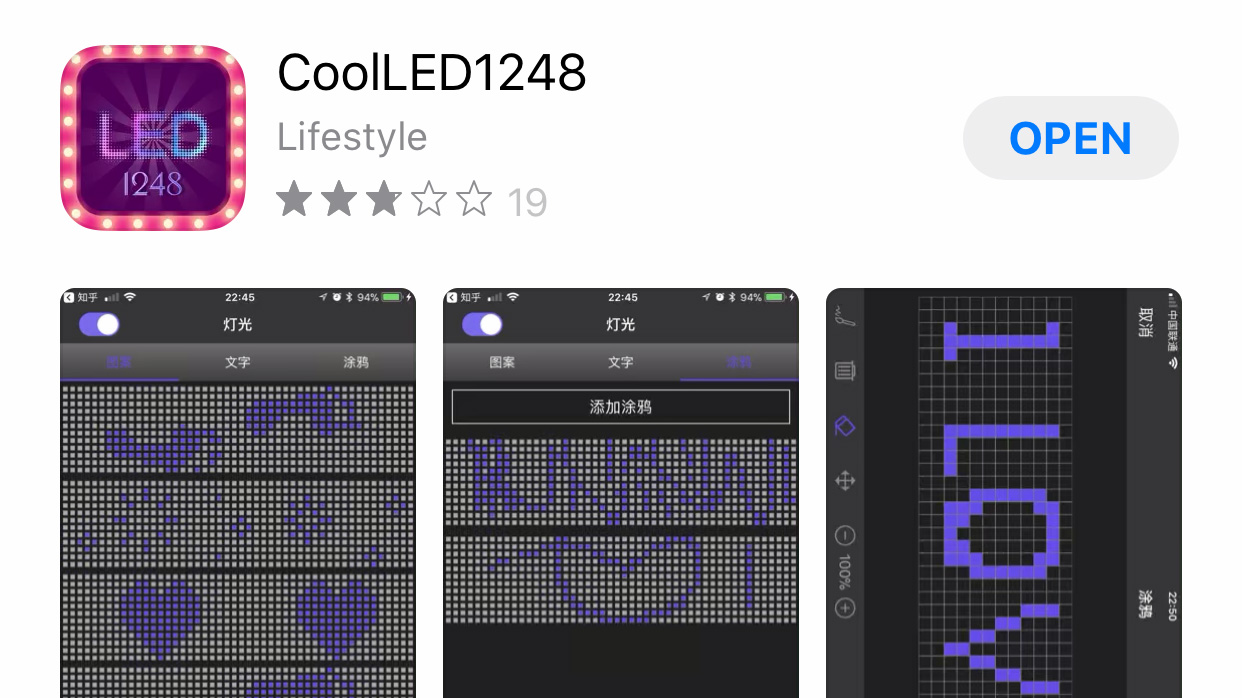
Download the panel's companion app (the panel packaging includes a QR code). Pair via Bluetooth and start sending content. You can:
- Draw pixel art directly on the app
- Type scrolling text messages
- Upload images and GIFs
- Use the equalizer mode to react to music
The battery lasts 4 to 10 hours depending on brightness and mode.
Project Ideas
- A denim jacket with a large panel on the back displaying rotating pixel art
- A messenger bag with a small panel in the front pocket showing scrolling text
- A beanie with a small panel mounted on the fold displaying an equalizer
- A belt with the small panel centered, replicating the LED Matrix Belt from Lumen Couture
Get the Panel
The Paper Thin LED Matrix connects to your phone, weighs almost nothing, and displays text, images, GIFs, and music visualizations. Rechargeable battery included.
More Tutorials
Explore more wearable tech tutorials and project ideas.