3 Ways to Use Flex LED Strands Beyond the Starter Kit
You built a skirt or a sweater with the starter kit. The basics make sense now: attach LEDs to fabric, hide the battery, connect the controller. So what's next?
These three projects use the same flex LED strands from the DIY Starter Kit but push into intermediate territory. They involve more coverage, better battery management, and design techniques pulled from building over 100 runway garments.
Project 1: The Light-Up Jacket
Components: 2 or 3 DIY Starter Kits + USB Battery Pack + a jacket with a lining
Time: 60 to 90 minutes
A jacket is the best intermediate canvas because it has structure, an interior lining to hide wires behind, and pockets for the battery.
Planning the Layout
Lay the jacket flat and plan your strand routing before attaching anything. The most effective layouts follow the natural lines of the jacket:
- Lapels and front edges: Strands running along the front opening, visible when the jacket is worn open
- Collar and shoulder seams: LEDs tracing the collar line and down the shoulder seams
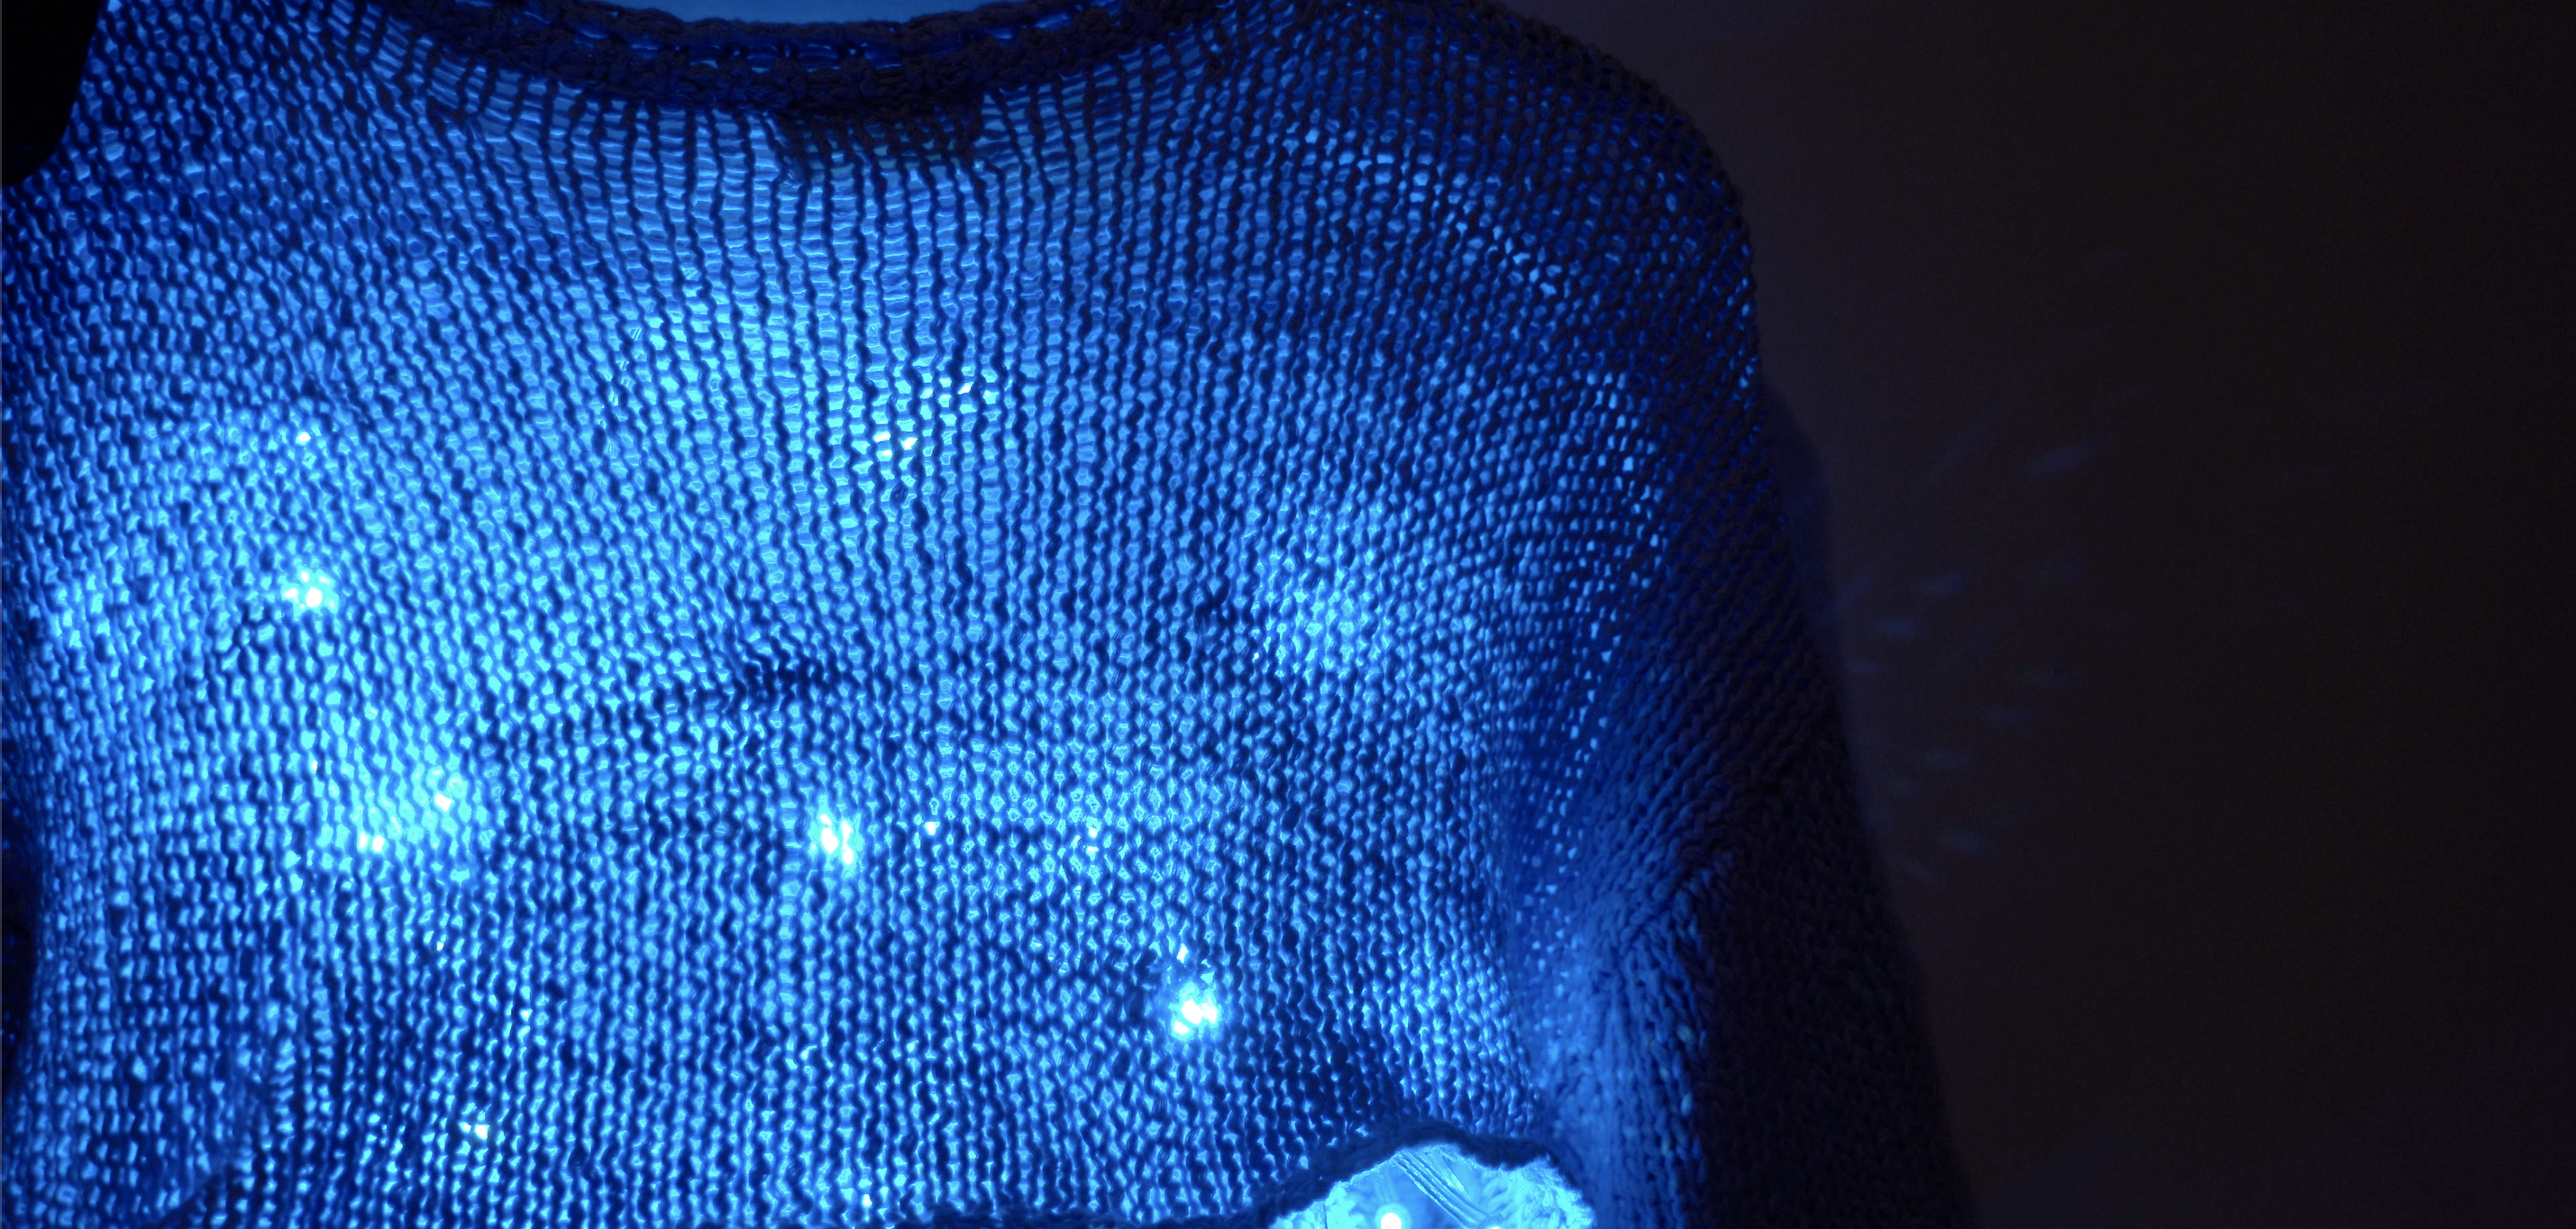
- Back panel: Strands in a pattern across the back (this is the approach used in the Lumen Couture Dark Power Bodysuit, where flex strands cover the front panel)
Connecting Multiple Kits
You can chain up to 4 kits together by connecting the strands end to end. They'll all respond to the same controller. More strands means more battery draw, so for a full jacket with 3 kits, use a larger USB power bank rather than the small included battery. Any standard phone charger battery works.
Attachment
Work between the jacket shell and the lining. Open a section of the lining at a seam, route the strands inside, and tack them in position with small stitches through the lining only. The LEDs should face outward through the shell fabric. Close the lining seam when done.
For jackets without a lining, attach strands to the inside surface and let light shine through the fabric (works best with lighter or thinner materials).
Battery Placement
Use an interior pocket. The jacket's existing pockets are ideal. Route the cable from the strand chain along a seam to the pocket. A USB Battery Pack ($15) works for lighter coverage. For full-jacket builds, a standard 5,000mAh phone charger gives you 8+ hours.
Project 2: Multi-Zone Color Garment
Components: 2 DIY Starter Kits (one compact controller, one remote controller) + USB Battery Pack x2 + a garment
Time: 60 minutes
Instead of chaining multiple kits on one controller, use two separate kits with independent controllers. This lets different zones of the garment run different colors or modes at the same time.
How It Works
Each kit has its own controller and battery. Place one kit on the top half of the garment and the other on the bottom half, or left and right sides, or front and back. Each zone runs independently.
Design example: Upper body on a slow blue pulse, lower body on a fast pink twinkle. Or chest on steady white, sleeves on green cascade.
This is how the Lumen Couture Stardust Jumpsuit achieves its full-body coverage, with strands running across the arms and torso in coordinated zones.
Tips
- The compact controller cycles through modes automatically, good for "set it and forget it" zones
- The remote controller lets you manually select color and mode, better for zones you want to adjust on the fly
- Keep each zone's battery accessible since you'll need to turn them on and off independently
Project 3: The Accessory Stack
Components: 1 to 2 DIY Starter Kits + USB Battery Pack + various accessories (belt, wrist cuffs, headband, collar)
Time: 15 to 30 minutes per piece
Instead of one garment with all the LEDs, build several smaller pieces that you can mix, match, and layer.
Pieces to Build
Belt or sash: Cut a strand to waist length and attach it to the inside of a wide belt or fabric sash with glue. Battery tucks into a pocket or clips to the belt in back. This is a simpler version of the Stardust Sequin Belt ($43) from Lumen Couture.
Wrist cuffs: Short strand sections wrapped around wide bracelets or fabric cuffs. Each cuff needs only 4 to 6 LEDs. Use the smallest battery you have, or a coin cell holder for ultra-lightweight builds.
Headband or crown: Attach a strand along the inside of a wire headband or fabric crown. The LEDs face outward and create a glowing halo effect.
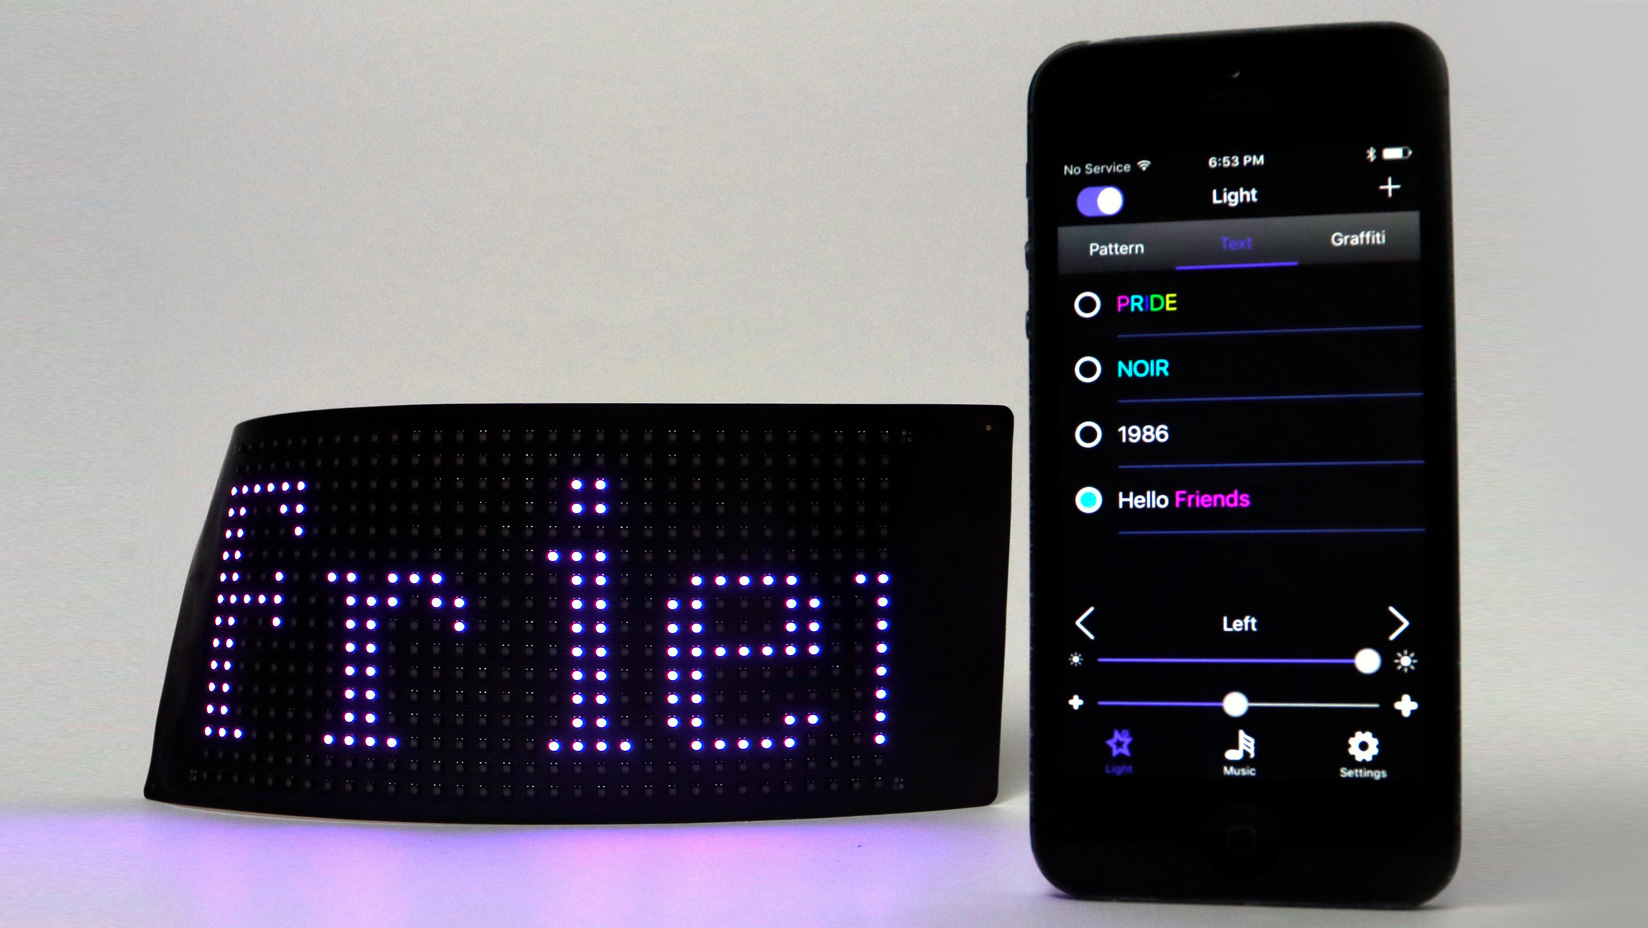
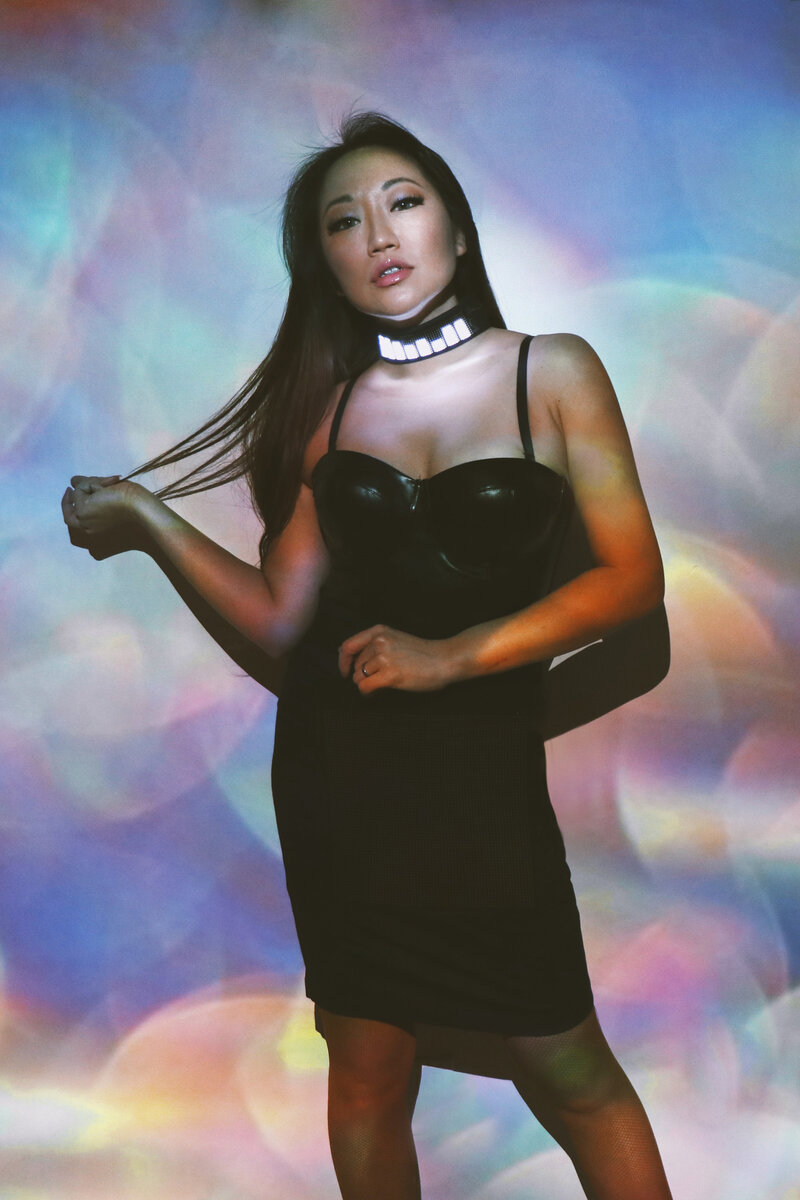
Collar or choker: A short strand section inside a wide collar or choker band. For a higher-tech version, the Paper Thin LED Matrix ($25) mounted behind a choker gives you a programmable display. See the Lumen Couture Matrix Choker for a finished example.
The Stack Advantage
Accessories are individually fast to build, easy to repair or swap, and endlessly combinable. A belt plus wrist cuffs plus a headband, all on separate controllers, gives you a full-body glow with more flexibility than a single garment build.
What You Need
- DIY Starter Kit ($17.50 per kit, 1 to 3 kits depending on project)
- Extra LED Strands for additional coverage
- USB Battery Pack ($15 per zone)
Ready to start building?
The DIY Wearable Tech Starter Kit has everything you need. No coding. No soldering. Includes flexible LED strands, controller, and battery pack.
More Tutorials
More builds and techniques for your next project.