User Guide: Large Customizeable LED Panels
Our new LED panels unlock endless possibilities for wearable tech and other DIY maker projects. Learn how to use them in this user’s guide!
The default wifi password for the panel is 12345678.
General Care Tips
The panel has some flexibility, but can’t be bent too much or it will be damaged. For more flexibility, check out our paper-thin flex LED panels.
Take caution not to overly strain where the cord enters.
The panels can be plugged into a power bank or directly into a USB wall outlet. Get our power bank designed specifically for wearables here.
Sizes and Specs
Coming soon.
Download The App
The panels are controlled by the”LED Space” app in the app store for android and iOS.
Note: the app is currently developed by a 3rd party and there are some unpolished design/content areas, we are hoping to develop a new, more user friendly version of the app in future!
Turning on and Connecting
The panel is powered from a USB 5V power bank or wall outlet: the same kind you use to charge your phone. Once the panel lights up, you will need to connect via wifi.
Look for the wifi network that starts with “YS” and a string of numbers.
The default password is 12345678
You can change this later. A password prevents someone else from controlling the panel.
Navigate back to the app, and if successful you will receive a confirmation message.
Clearing the Design
Before adding a new design, you will need to clear the currently displayed design. Otherwise, the designs will rotate.
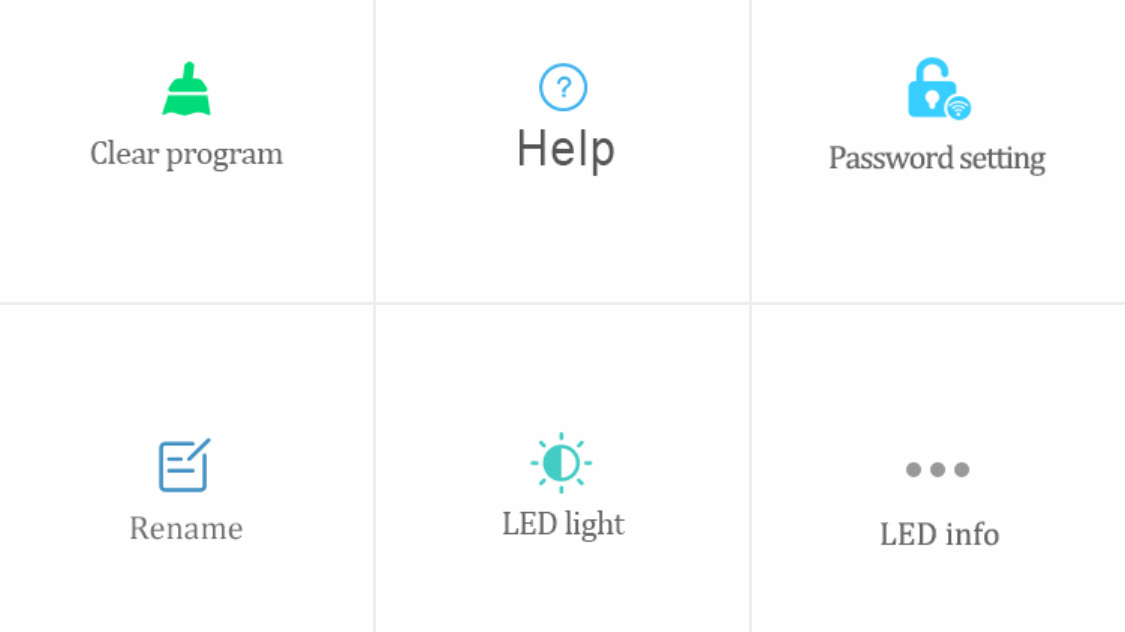
Navigate to “My LED” (top left yellow icon) and select “Clear program”. Once the panel is clear it will say ‘Amusing LED’.
From this menu you can also change the password and adjust the brightness of the panel.
Draw Your Own Design
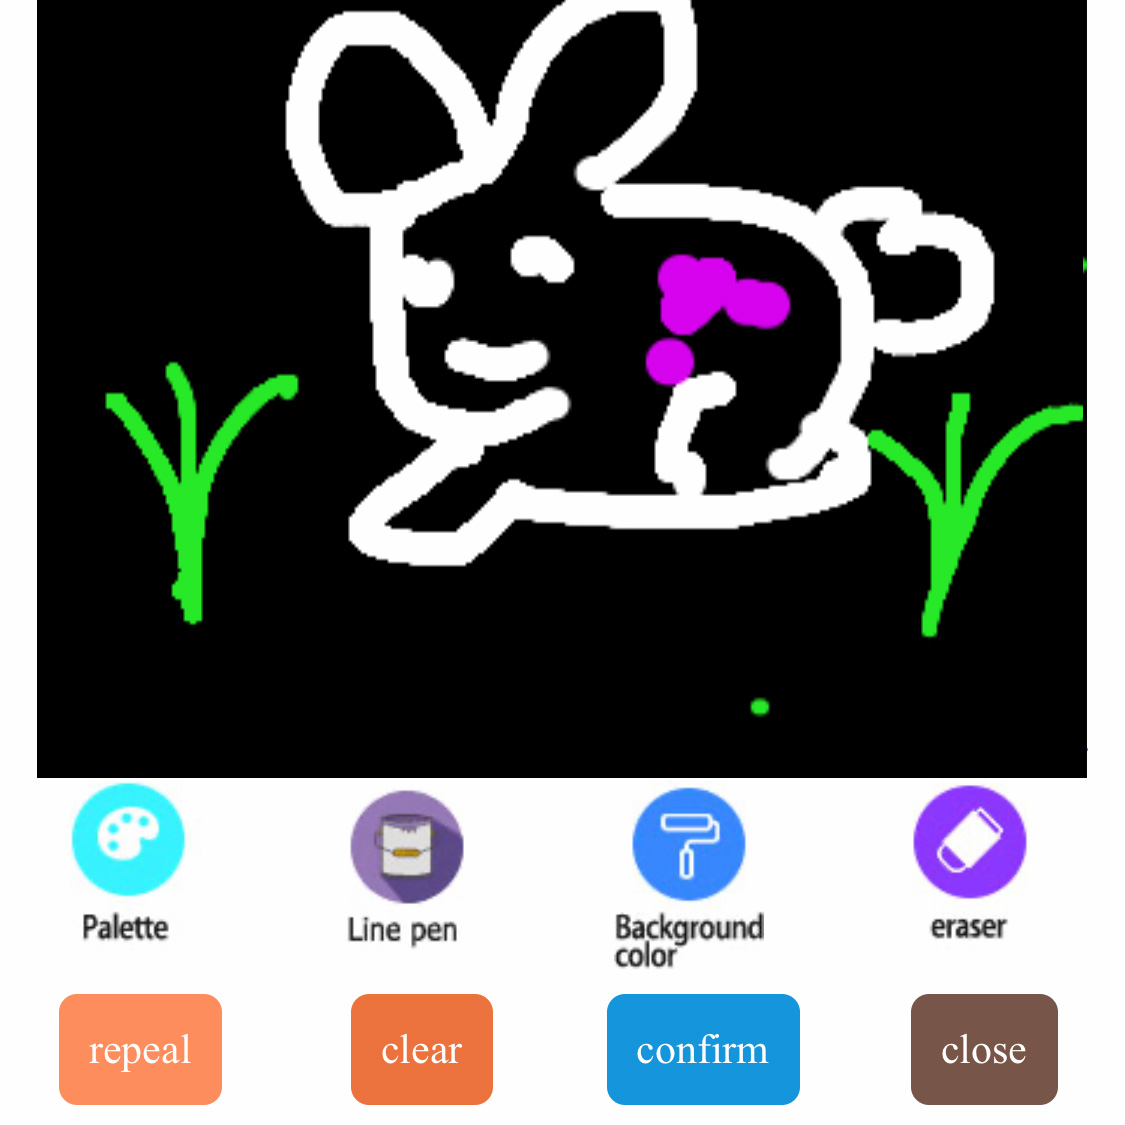
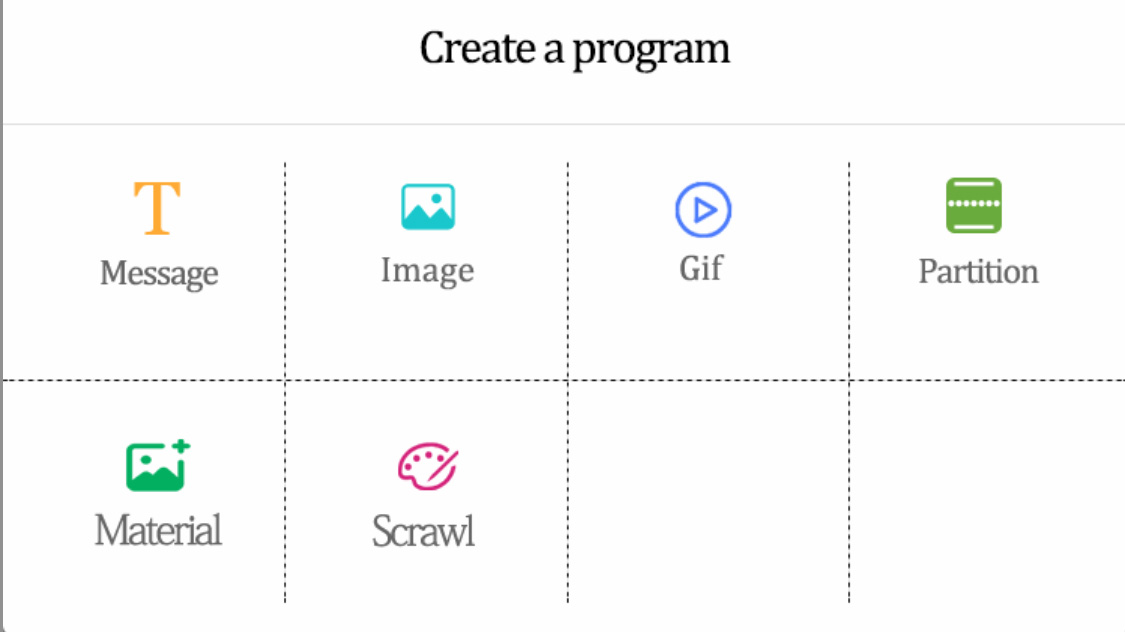
To draw your own design, select “Scrawl” from the menu, or choose it from the “Program List” section.
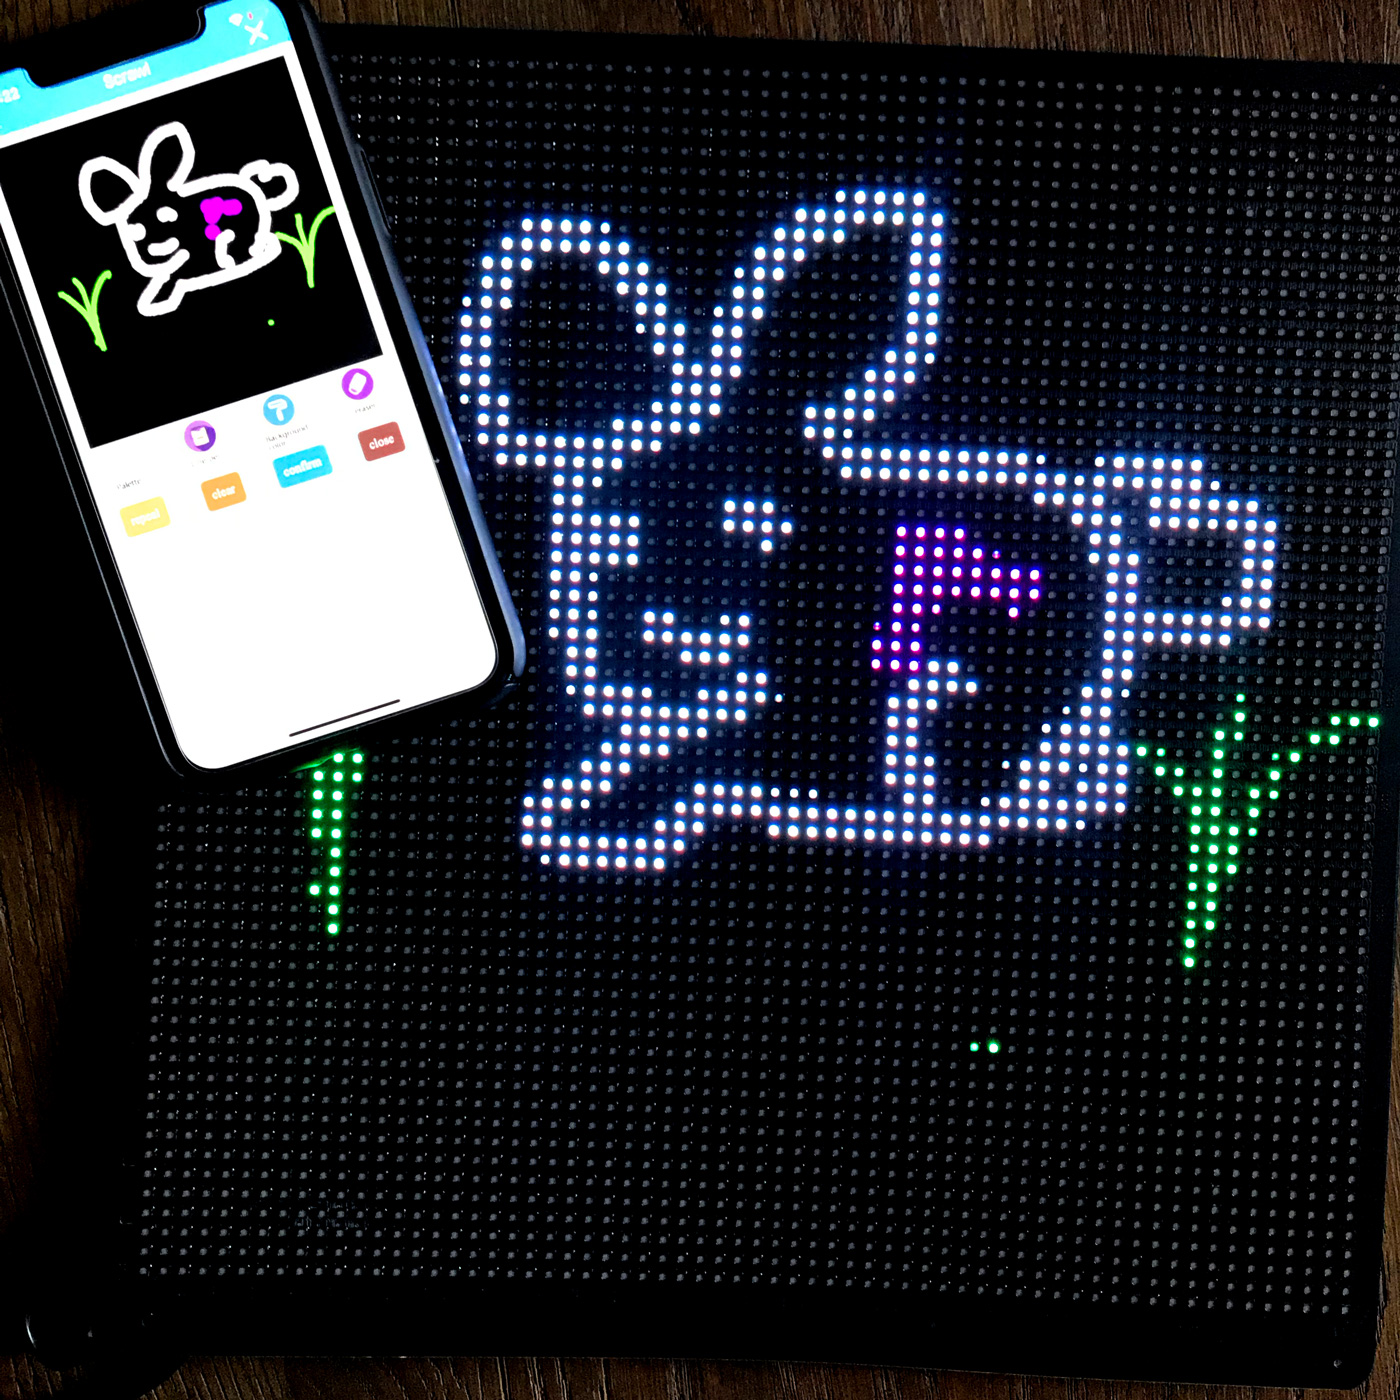
Draw using the tools under the “Line Pen” Section. Black backgrounds usually work the best. To undo an action, use “Repeal”. Once finished, use confirm to save and send to your panel.
Drawings will show up in your “Program List” section to be re-used or edited later.
Adding Animated Gifs
To add Gifs, you can either go through the “Gifs” menu or through the “Program List”. If using the “Program List” choose gif.
You can upload a Gif that is on your phone.
Finding Gifs
Gifs work best if they have a transparent background and are formatted within a square. They also work best if they have bold color contrast and not too many details.
A variety of Gifs can be found in the Giphy Stickers section (here). Please note that Giphy gifs are copyright of giphy and their respective owners and may not be permitted for commercial use.
Adding Text
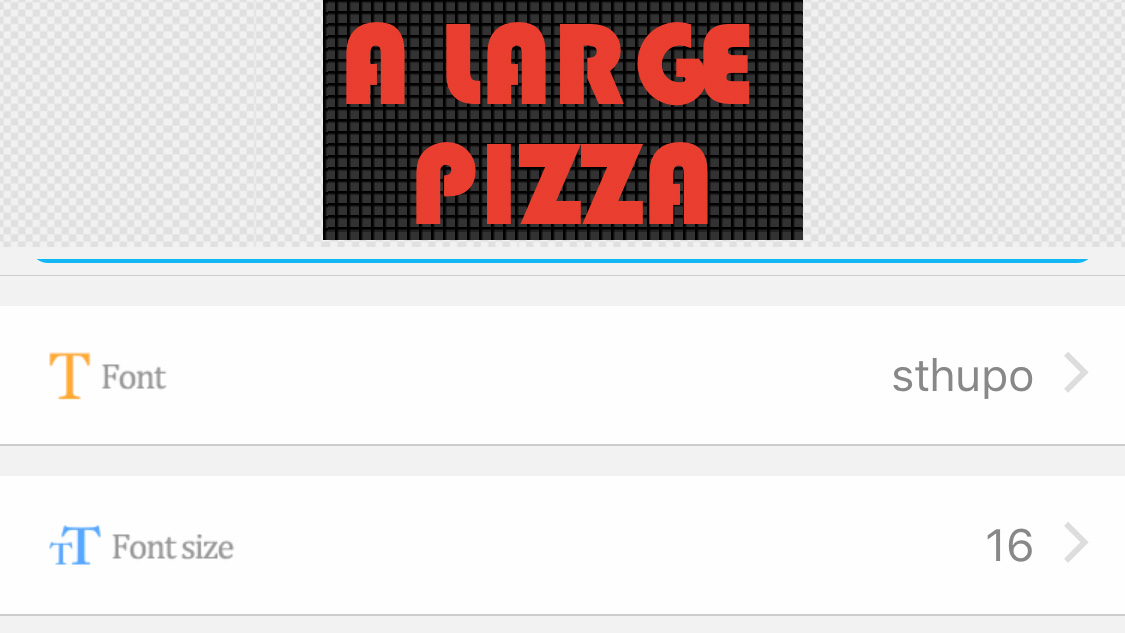
To add test, use the Text section of the app. You can adjust the font size, alignment, color from this menu. Tap “Save” or “Send” to send to the panel for later. Note that sometimes the preview doesn’t 100% align with the panel, so you may need to do some adjustment to the sizing to make the text flow correctly.
Uploading Images and Logos
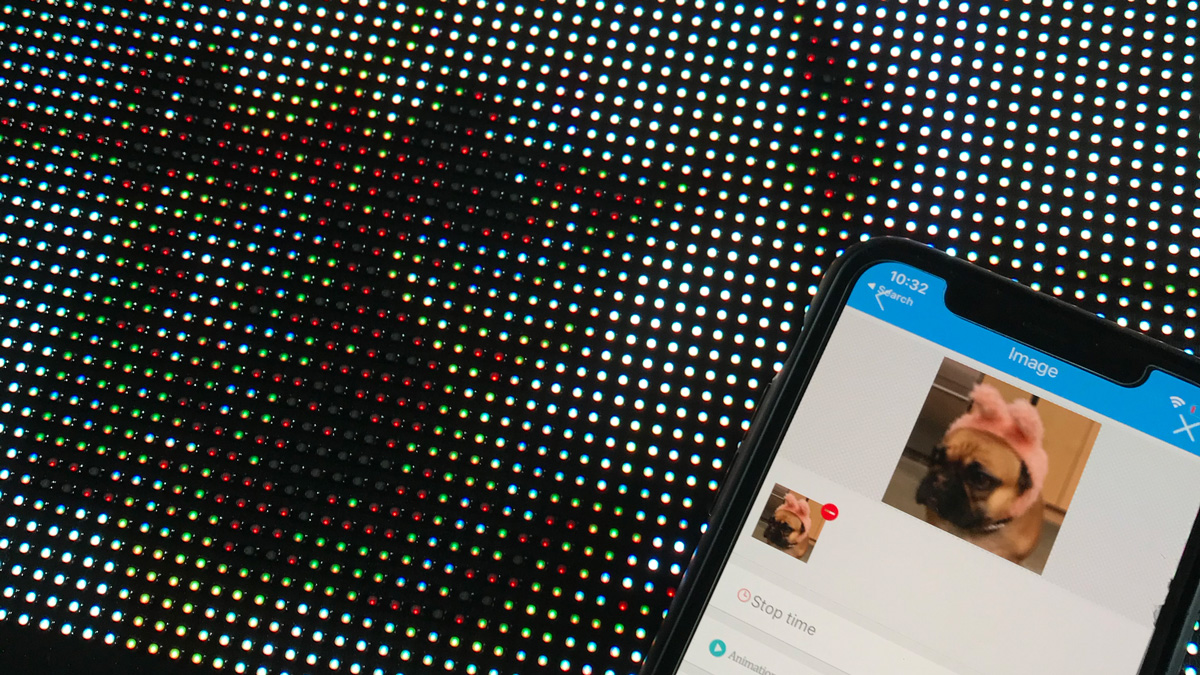
The app can automatically convert an image into a design for the panel. You can use photographs, although the contrast needs to be high for it to display well. Logos and illustrations on a black background display well.
Animated Presets
The app comes with a variety of pre-loaded demo images. These can be found under “Material”.
Cycling Multiple Images
You can cycle through a variety of programs on the panel. To adjust the length of time, use “Stop time” on images and text, and “Views” on Gifs (Views determines the number of times the gif loops).
Please keep us updated with any projects you create with these panels, and reach out if you have any other questions!

